Not so super charger
it had been about 6000 miles since its last rebuild and with forums throwing up anything from 8000 down to 3000 miles between rebuilds, I descided mibe needed looking at.
 The supercharger had developed a bit of a squeal which hastened my need to take a look so a service kit was ordered and the supercharger hoyed out.
First up I disconnected the inlets then hit the issue of taking the tension off of the belt. After a bit of hunting about I found out my caulking gun was perfect for the job.
With the belt loosened and moved out of the way I could pop off the bolts on the left side quite easily.
The headlamp needs removing to access the oil lines which isn't a hard job either once access is gained.
The worst bit for access for me was getting to the right hand side. The resonator box has has a rubber hose and clamp coming out of it, that bit was fine, and three bolts holding it together. The captive nut on all three just spun so they were going nowhere without making a mess. So my only choice was to go in blind on the attaching bolt to the centre of the g-ladders outlet.
this is not straight forwards as it is a low profile bolt and is not a straight line access so you need an extension and a wobbly bit. This honestly took me hours to get off and was very frustrating but I got there in the end. Taking a break probably helped.
 Once that was off I could then get tot he last mounting bolts and drop out the sheet metal spacer. The gladder is now free... ish.
Oh yer, don't forget to remove the oil dip stick tube or you will break it, trust me.
You have to be quite heavy handed to "coax" out the supercharger as it is well in there. A pry bar helps.
Now it is out, the supercharger is pretty easy to strip and inspect.
Whilst I had it apart I opened up and tidied some of the air ways on the g-ladder. annoyingly I had lent my Dremel to a friend so I only had an air die grinder which didn't allow me to tidy up the finish very well but was still better than factory. I also took the time to give the cases a good clean up, might as well make it look good.
I was missing an apex seal which would explain the squeal. I am glad I chose to do this now!
I had the full kit so changed all of the bearings at the same time, pre-lubricated of course. By the looks of things, the bearing had been changed on its last service as all of them looked pretty new so they went in the spares box for future use.
All of the seals and the belt were replaced for new items too.
 |
| Soot hints at contamination |
I had a bash at repairing this but it was well impregnated with contaminants and I didn't have the right grade of aluminium wire let alone the tooling to machine it.
I was much happier with a less secure seal than a lump of aluminium that could fall off so I decided not to stick with the repair. This was a good decision as it was not a well penetrated weld.
I decided to instead tidy and dress the area for now and send it off for re-machining on its next rebuild.
Once happy with my work, well as happy as I could be) I moved my attention to the engine bay.
I had the opportunity to clean areas that rarely get access too so I made the most of that.

Back I went to eBay and a set of new lines were ordered.
They took a while to come so I decided to change them at a later date.
With things all cleaner than they were and the g-ladder rebuilt I was ready to put things back together.
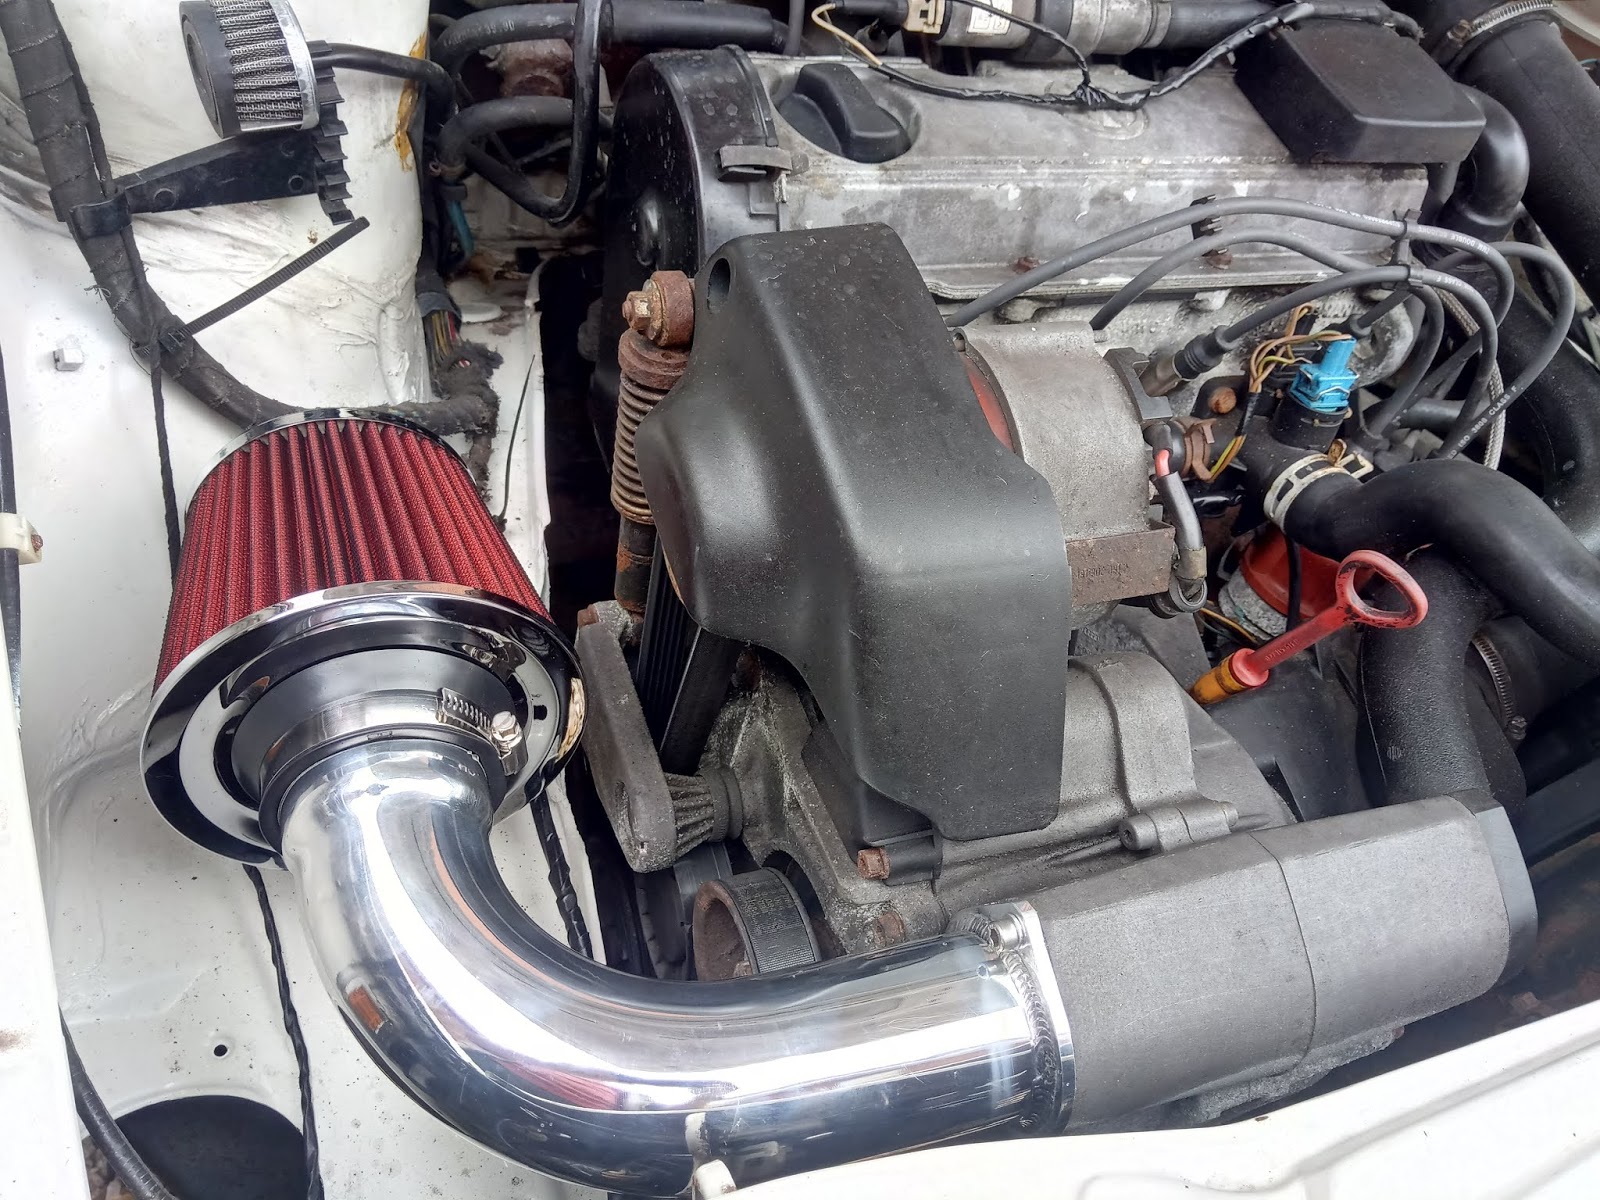 Reassembly is the opposite of assembly shockingly. Everything plopped back into place with the usually wrestle with the resonator box bolt. I had figured out that taping up the wobbly bit to reduce its movement was the answer but this still didn't make it easy to do. I should really have fixed that resonator box.
I did however have a shiny new inlet and pod filter to replace the manky blue one hanging off of the OEM rubber inlet by a tie wrap. Shiny!
I gingerly fired the beast up and everything appeared to be working as advertised. I was good to go for a 500 mile run in process of keeping it under 3500 then later 4000 rpm.
It was still a bit noisy but I was probably just being overly sensitive about it. The car was good through the run in process even taking a trip up to Leeds in its stride.

 Then on a return trip from the shop to drop off a parcel she suddenly turned into a red arrow bogging down and puking smoke out of her ass.
I coaxed it home and popped the bonnet to find oil leaking out of the inlet and a very sad supercharger. Balls.
Out everything came again, taking care to remove that oil dip stick tube and apart came the supercharger again.
The resonator box was even more fun this time as it was full of oil to add a bit more challenge to the job. I really should have fixed that resonator box.
All of the apex seals were in place (haha I bet you thought my cowboy antics had come to bite me, well no, not this time!) so I went digging for the problem.
I found a seal had popped out of its seat and been chewed through by the circlip on the end of the centre helix causing the engine to pump its sump into the supercharger.
 A replacement £1.50 seal was ordered and fit with some grey engine gasket to help it stay put this time. I looked at the build up of the supercharger to see if I had maybe reassembled it wrong but couldn't see another way to build it. It's almost like there should be a thrust washer between the two but I don't have anything left over from the initial rebuild for a change. The other possible cause could have been back pressure from a blocked oil line so I fit the replacement parts I had previously ordered.
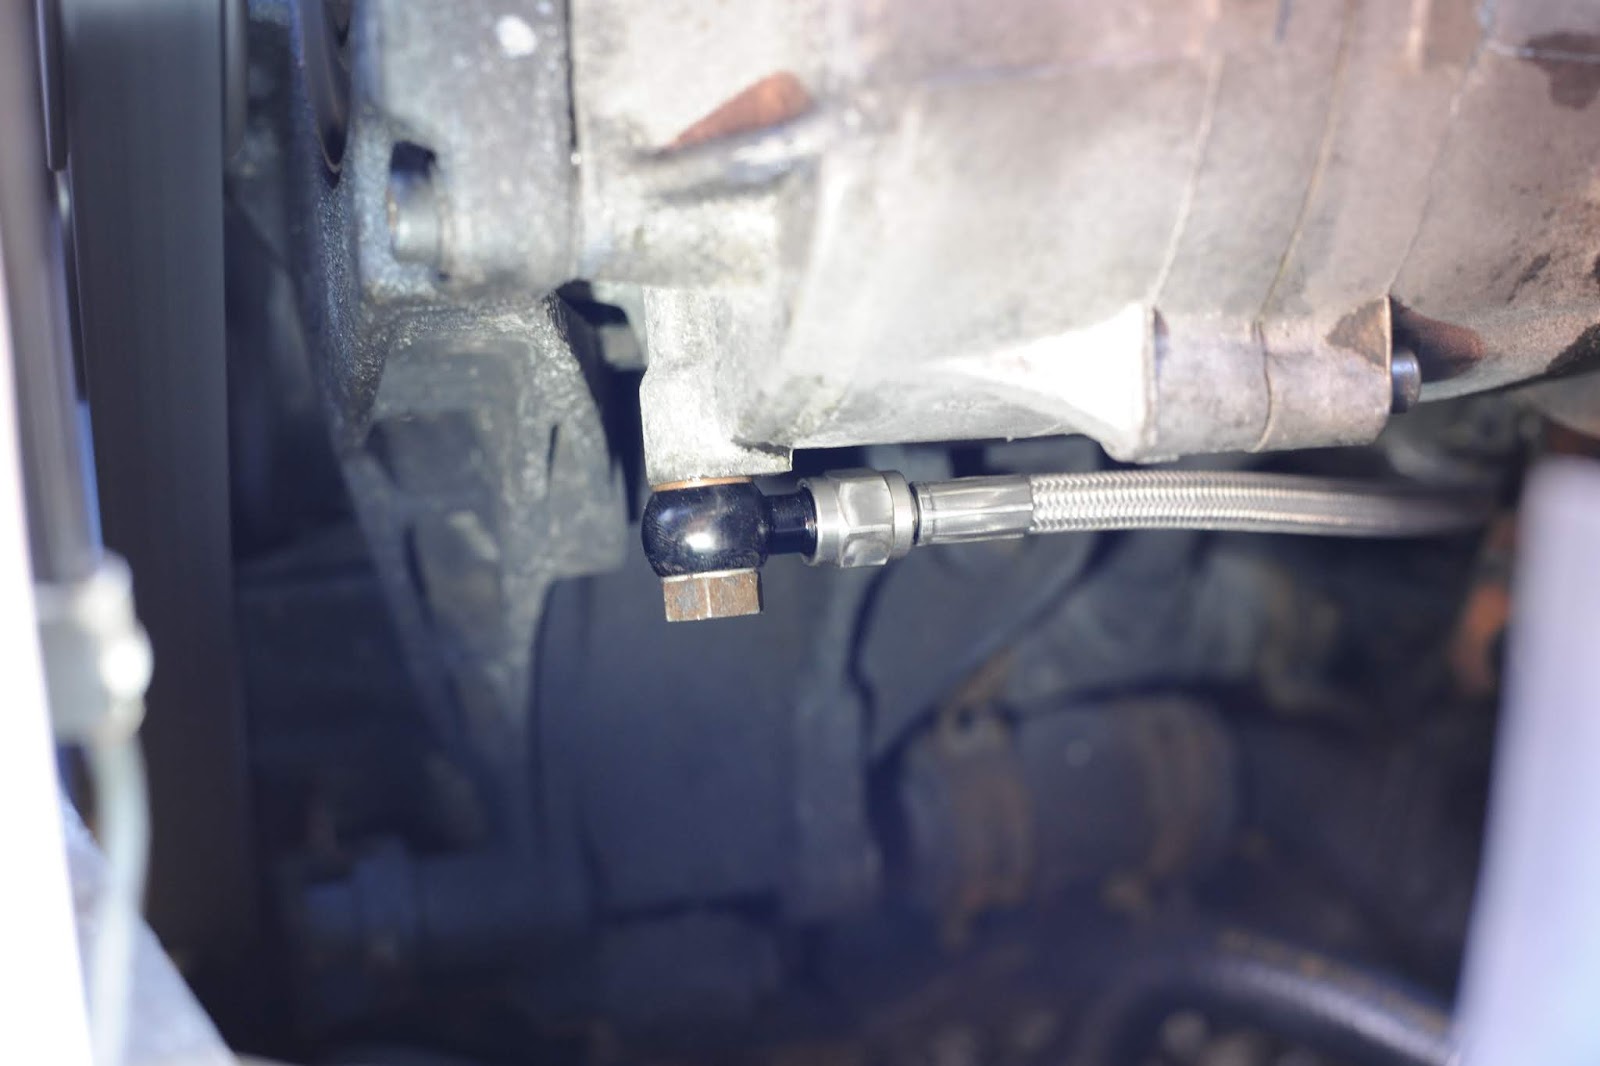 They are high quality braided aluminium hoses, far higher speck than the OEM rubber units with the return going through an AN fitting rather than clamped onto a bayonet for example.
Unable to find any other issue; I cleaned and replaced everything again.
There was plenty of oil in the, well everything but the sump, which I cleaned out as best I could but as expected it was still very smokey on start. I did put more oil in the engine by the way.
I statically ran the car for a few weeks letting the oil burn off and everything settle in again.
When I was confident that there was no new leaks I ran the car round the block to see what it was like.
I had a good trail of smoke behind me but it appeared to be dieing off. This was until I was just about to get home when an audible pop was followed by some serious smoking this time. The car just about ran so I coasted the last few feet onto the drive ready to start over again. Fresh oil dripped out of everywhere and i was back to square one again.
Now pretty fed up with the characterful G60 I removed the supercharger again. Fighting with the resonator that "I really should sort those fasteners out this time" on as I went. I had a quick pause where I hit up eBay briefly to order a new tossing oil dipstick tube. Knew I would get it in the end!
I checked the oil lines for blockage but all of them blew through fine. I knew firm well what had gone and for it to go that much quicker this time showed there was definitely a problem with my supercharger.
 Faced with a big bill either way I took a gamble and bought another g60 supercharger from Lithuania. This had recently been rebuilt and was sold as serviceable.
I resisted the urge to crack it open to see if there was a difference to mine. I just cleaned it up and gave the inlet a bit of a polish on the outside to make it look a bit tidier.
Everything went back in again (yup still not sorted that resonator box out ) and the car was run for weeks before I gingerly ventured on the road with it. I was a bit nervous at first but the smoke cleared slowly and the motor felt strong again. I am still a bit on egg shells with it but so far it seems to be good.
I am touching all of the wood.


Comments
Post a Comment